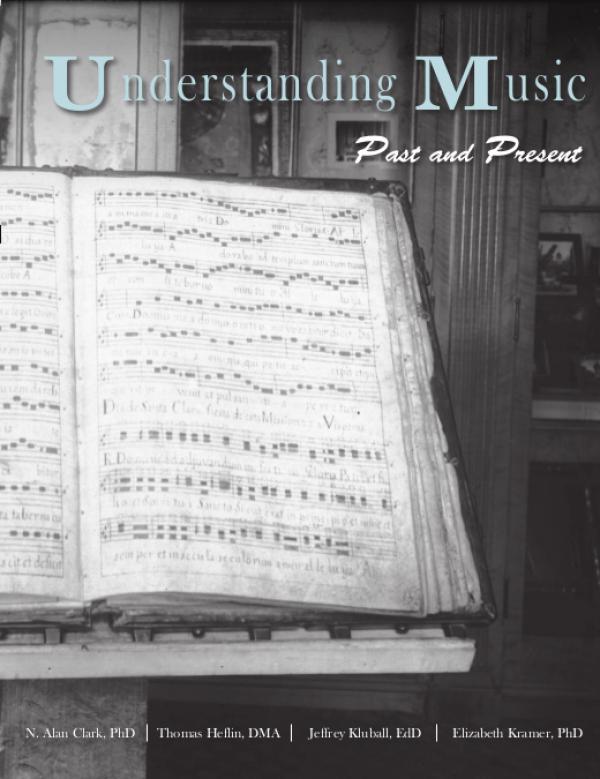
For a long time I’ve been hoping to find a free and open solution for a textbook for my Music Appreciation classes. I think I’ve found the book, Understanding Music (by N. Alan Clark, Thomas Heflin, Jeffrey Kluball, and Elizabeth Kramer), a free offering from GALILEO Open Learning Materials, which is a noteworthy effort of the University System of Georgia.
Sadly, I’m facing the same problem with this book that I did with the public domain Counterpoint textbooks that I overhauled the last couple of years, which is that the only available version is PDF, which is for me completely inappropriate because it lacks basic accessibility features and is not compatible with mobile devices and dedicated ebook readers.
I requested the source files for the book so that I could make an easy conversion to HTML, ePub, and mobi formats for ebook readers, but I was denied. I’m disappointed by the shortsightedness of the editor, and now I’m going to have to lump him and the publisher (The University of North Georgia Press) right along with all of the commercial textbook publishers who don’t understand what the word “open” means nor what a real ebook is.
Pressing on, though. It’s going to be a good, usable (and in my flexible, accessible edition, a really open) book, which I will share freely with everyone. I plan to add embedded media players for the epub version, and try to make use of things like Kimiko Ishizaka’s Open Goldberg Variations and Open Well-Tempered Clavier for musical examples.
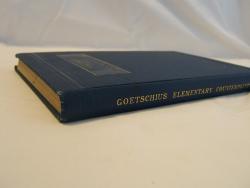
I suspect that the first question someone might ask when seeing this digital edition of a counterpoint book that’s more than 100 years old would be, “Why?” It’s certainly not for the money. Well, at least it’s not for making money on my own part. As long as I’ve been teaching counterpoint, it has troubled me that the textbook materials have been extremely expensive. It was especially irksome that the textbook I was using had not had a new edition since 1999 yet the price of the book was still about $125. I could not in good conscience ask my students to pay this much money, but I liked the book. I started collecting older editions of the textbook, which differed only slightly in pagination, not at all in substance, and were abundantly available for anywhere between $4–$10. These textbooks I would loan to my students for an entire semester for free. [read more]
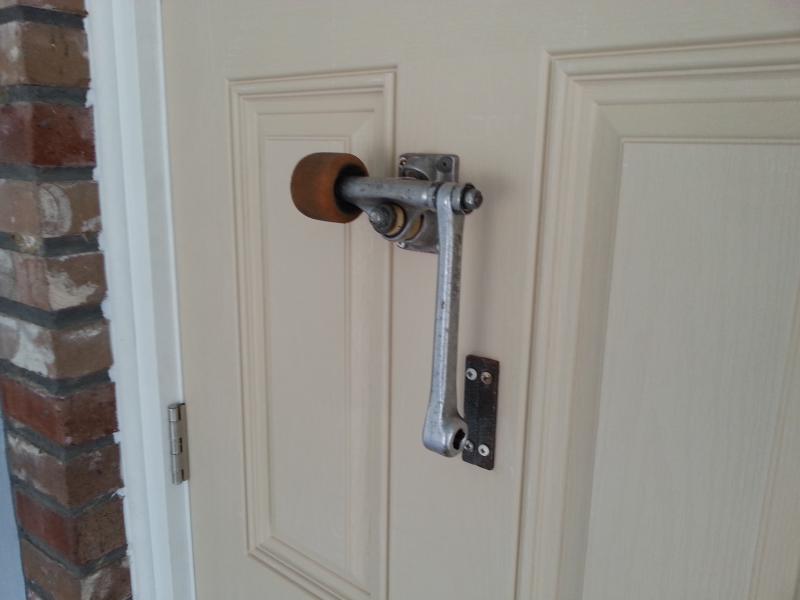
We got new doors on our house recently and I decided that we needed to get a door knocker. After looking at various door knockers online and not finding any that seemed suitable my wife suggested that I try to make one. I said maybe I could make one out of old bicycle parts, and she loved that idea (isnt she cool?).
I’m teaching in a classroom without audio-visual equipment for the first time in about 8 years and so I assembled an A/V cart to bring with me to class. The cart had extremely squeaky wheels, really loud and full of hideous sounds, so that I made a horrendous racket pushing it down the hallway to the classroom. Before applying WD40 to the wheels today I decided to make a recording so that everyone can hear it. Enjoy!
New Construction Here
Thu Nov 28 15:00:07 CST 2013
MySQL got hosed on my Wordpress site. I apologize if you ended up here following a link that is now broken. I fear there will be broken links across the interwebs. I’ve built a new site now from html5 and css. No more databases. It’ll take a while to get old blog posts up, but I’m prioritizing posts that dealt with fixing various problems on Linux. Half the time these are my own references when I forget how to do stuff haha! I have no idea what I’ll do about my Piwigo photo gallery. Moodle and Statusnet instances are history too. Curse you, MySQL!!
If you spend any time at all writing about music then you’ve faced the issue of how to deal with meter signs in your writing. Most of us just give up early and use fractions like 3/4 and 6/8, but this has always annoyed me, because of course meters are not fractions. Sharp (♯), flat (♭), and natural (♮) symbols are another annoyance but those will have to wait for another post (spoiler: they’re super-easy in HTML!).
I remember a time when my word processor had acceptable meter substitutes, not fractions but numbers actually stacked on top of each other. I think it was WordPerfect 6 on DOS. I haven’t had anything suitable since then and that was a really long time ago. After that I sometimes tried using an equation editor to get the numbers to stack up right. This was hard and also messed up the line spacing.
Recently I decided to have another go at meter symbols. This time the approach was to create images of the meter symbols and insert them inline as if they were characters. This actually works pretty well. read more…
I got my copy of the new recording Dark Angels by CN Lester and Toby Carr a couple of weeks ago, much sooner than I expected. It’s excellent. They included three songs from my song cycle Five Poems of Emily Dickinson. CN’s voice is beautifully suited to the songs, and I love her flexible performance style, which shows excellent classical training but also experience in popular genres. Toby Carr’s performance on the guitar is rock solid and always musical in some very demanding repertoire. The whole thing is great. If you are interested in purchasing a copy of the CD, visit CN’s website for information on how to do so. I believe that for the moment at least there is no way to purchase the tracks as mp3 downloads. Thanks so much for recording my songs, guys!
Lester / Carr to Record Dickinson Songs
2012-11-20 01:09:26
I got an email today from guitarist Toby Carr telling me that he and mezzo-soprano CN Lester are planning to record three songs from my song cycle Five Poems of Emily Dickinson. Also on the recording will be music by Benjamin Britten and Peter Maxwell Davies, plus a newly-commissioned work by Philip Lawton. Good luck with the recording, guys, I can’t wait to hear it!